NordVPN is a popular virtual private network (VPN) service that offers secure and private internet browsing. However, there may come a time when you no longer require their helping hand and wish to expunge your NordVPN account. Through the article, we will dispense you with a detailed guide on how to delete NordVPN account, counting important considerations before cancellation, bit-by-bit instructions, and post-account cancellation considerations.
Table of Contents
Preparing to Delete NordVPN Account
Ahead of taking action with expunging your NordVPN account, there are one or two essential considerations to contemplate.
Firstly, it’s crucial to understand the consequences of expunging your account. Once your account is wiped out, you will leave behind the retrieval of all your account dossier, counting your account settings, usage history, and any hoarded preferences. Additionally, any active benefactions or auto-renewals affiliated with your NordVPN account should be expunged to avoid any unwanted charges.
To safeguard any important data or information affiliated with your NordVPN account, it is recommended to create a backup. This includes saving any relevant account details, such as login credentials or subscription information, that you may need in the future.
How to Delete NordVPN Account: Steps to follow
Now let’s dive into the bit-by-bit process of expunging your NordVPN account.
1. Retrieving the NordVPN Database
- Commence with opening an internet gateway and maneuvering to the official NordVPN network.
- Corroborate that you are tied up to the internet.
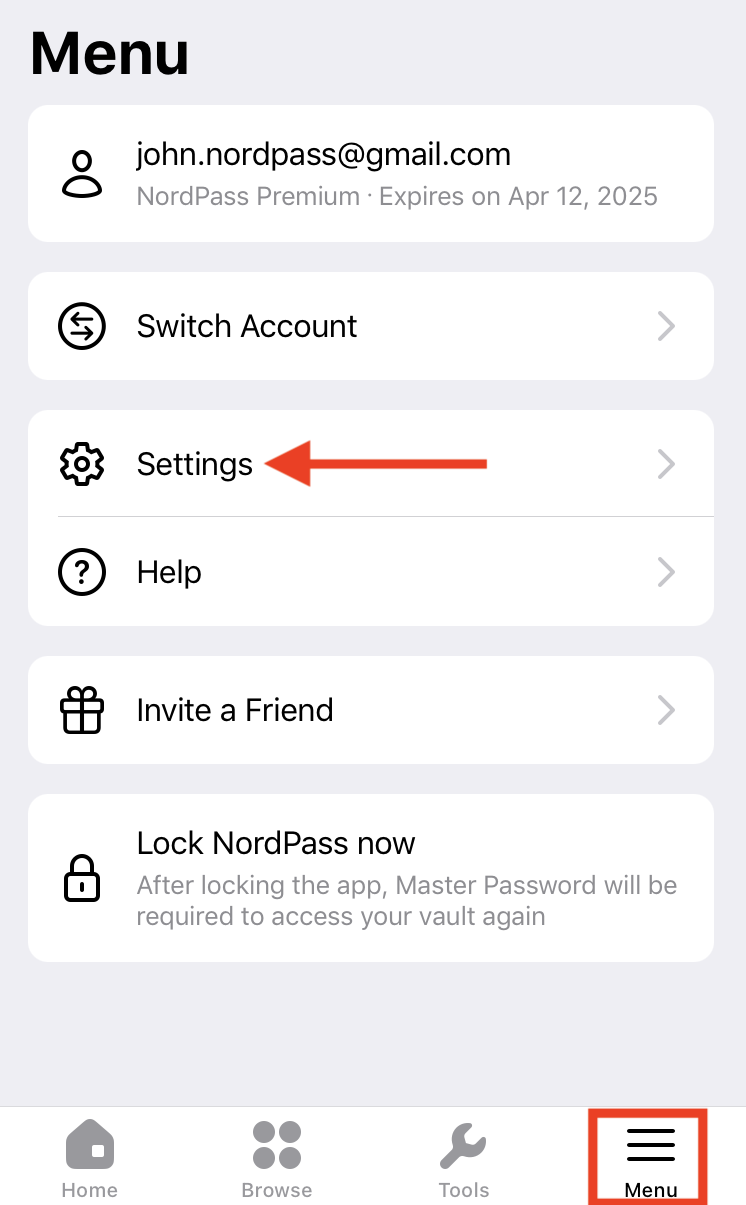
Image Credit: NordPass support
2. Logging into Your NordVPN Account
- Discover the login zone on the NordVPN website.
- Then, put down your credentials (username and password) to log into your main page.
3. Navigating to the Account Settings
- Once logged in, discover the user profile or account settings part on the website.
- This section may vary in placement depending on the database’s design.
- Look for choices related to managing or expunging your account.
4. Initiating the Account Deletion Process
- Within the account settings section, find the option to delete or close your NordVPN account.
- Click on this option to proceed.
5. Verifying Your Decision
- In some cases, NordVPN may prompt you to confirm your decision to delete the account. This is to ensure that the deletion is intentional and not accidental.
- Verify your decision and proceed to the next step.
6. Providing Feedback (Optional)
- If NordVPN offers the opportunity to provide feedback regarding the reason for deleting your account, take this chance to share your feedback.
- This step is optional and can be skipped if not provided.
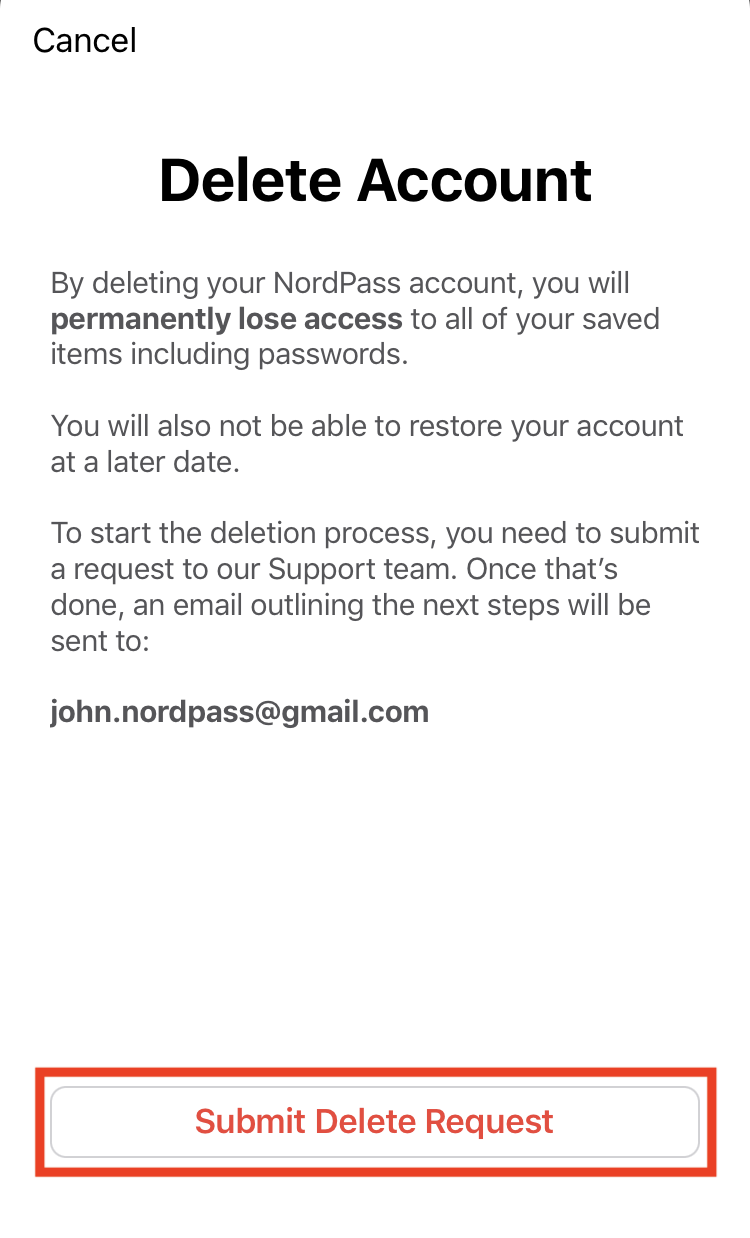
Image Credit: NordPass support
7. Confirming the Account Deletion
- After completing the previous steps, check your email associated with your NordVPN account.
- Look for a confirmation message from NordVPN regarding your account deletion.
- Open the email and click on the confirmation link provided to proceed.
8. Finalizing the Account Deletion
- Once you’ve clicked on the confirmation link, return to the NordVPN website.
- If necessary, log in using your credentials.
- Verify that your account has been successfully deleted by confirming that you can no longer access your account information.
Post-Account Deletion Considerations
After deleting your NordVPN account, there are a few post-deletion considerations to keep in mind.
1. Clearing NordVPN Applications
Remove NordVPN from all your devices and uninstall any associated applications. This step ensures that no traces of NordVPN remain on your devices. Additionally, delete any stored login credentials or data related to NordVPN.
2. Managing Refunds and Subscriptions
If you had an active subscription or any pending refunds, it is recommended to contact NordVPN support for assistance. They can provide guidance on refunds or help resolve any subscription-related queries.
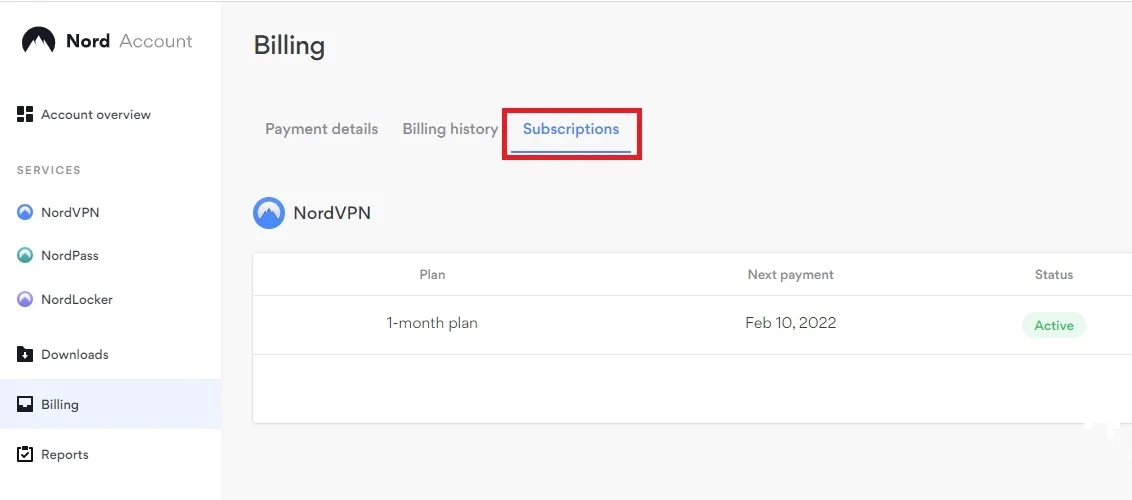
Image Credit: VPN Unlimited
3. Exploring Alternative VPN Options
If you still require VPN services, it’s worth researching and exploring alternative VPN suppliers. There are numerous VPN options available in the market, each with its own features and pricing plans. Take the time to assess and collate different VPN suppliers based on your specific requisites and predilections. Consider factors such as server locations, encryption protocols, device compatibility, customer support, and pricing before making a decision.
Conclusion
Through the article, we have dispensed a step-by-step guide on how to delete NordVPN account, from the initial preparations to the final confirmation. It is requisite to acknowledge the upshots of deleting your account and take the necessary backstops, such as backing up important data and canceling subscriptions.
After expunging your NordVPN account, corroborate that you clear any NordVPN applications from your gadgets and manage any refunds or subscriptions. If you still require VPN proffers, explore alternative providers to find the best option for your needs.
Remember, while removing your NordVPN account may be necessary, it’s important to proceed with caution and make informed decisions. VPN services play a crucial role in safeguarding your online privacy and security, so take the time to research and choose the right VPN provider that aligns with your requirements.
By following the outlined steps and considering the post-deletion considerations, you can successfully delete your NordVPN account and transition to an alternative VPN service if needed.