With technology taking a high rise in the modern world, we have converted possibilities into reality so much that we bend reality just with a click of a button. To this day, a picture says a thousand words. It was an essential part of our lives to look at and look into the past. Now, with technology and Photoshop, we can do anything we want.
Photoshop is a lot more than just software that allows you to edit photos. It shows you how to create digital masterpieces. A software that’s fit for a digital artist. A top choice for countless computer artists who rely on the multitude of tools provided by the said software to serve the purpose of creating a piece of work.This blog shall serve as a step-by-step tutorial on how to Photoshop someone into a picture.
Table of Contents
How To Photoshop Someone Into A Picture: Step-by-Step
Step 1:Get The Basic Needs Met
Pick two similar-looking images. Similar in terms of lighting, resolution, perspective, and angles, these factors heavily determine the result.
To Photoshop, an existing photo means focusing on the little things like angle and lighting, shadows, etc, which are very important to make the final product seem hyperrealistic, if not realistic. You must look into these details to basically fool the viewer into thinking it’s real.
Step 2:Duplicate Layer
Press keys –
Cmd + J on a Mac
Or
Ctrl + J on Windows
By pressing the above keys, your selected photo will be duplicated in another layer. It helps a lot to work in layers, and that’s how photoshopping works. It’s one of the basic techniques of photoshopping something or someone in and out of pictures.
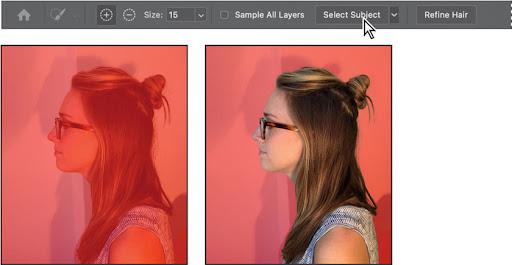
Step 3:Quick Select
Although it is easy to trace by hand the body of the subject. But the Quick Select option makes things quick and easy.
Looking at your screen, you’ll see a long bar of tools on the left. Look at the very top, click and select the quick select tool. This will trigger small walking ants around the subject. This will help you remove the background, keep the subject intact, and edit the background.

If you’re a perfection freak, you can go in and manually select parts that got left out, like bits of cloth, hair, etc.
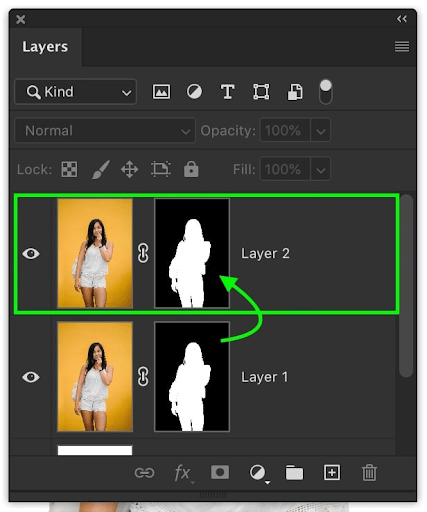
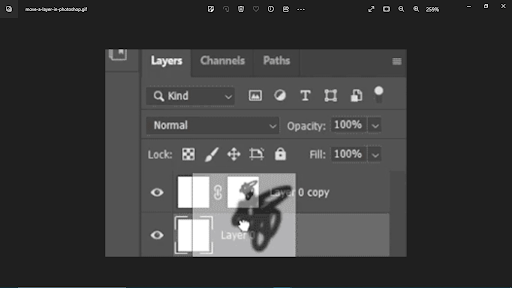
Step 4:Layer Masking
Mask the selected layer by clicking on the Layers tab and clicking on what looks like a small camera. This basically removes the whole background from the existing subject layer, revealing only the subject.

Click on that. Everything besides the selected subject will be visible.
Step 5:Check and Correct
Press, which will put on a red masking to reveal any imperfections in the layer. Specifically the edges.
Essentially, you’re checking whether there are any but or pieces that are a bit odd looking that u can fix or to make sure that there are no anomalies. The red mask just helps in spotting them and making sure things are looking good.
Step 6:Brush Detailing
Using the brush tool, go in and fix up the edges to allow a smooth transition. This part is incredibly delicate and must be timely. Take it with a grain of salt that this is close to what an actual painting needs to look realistic and convincing, even if it’s Photoshop.

The brush tool helps with giving minor imperfections, which will allow you to make the subject look as though it’s a part of the picture. However, the brush tool is more often used to fix edges, adjust them, and fill up empty spots. Once you’re done, press again to make the red mask disappear.
Step 7:Drag and Drop
The way your phone drags and drops you onto your bed instead of doing actual work, drag and drop the singular subject later into the second picture in its own layer.
This part is where things begin to slowly come together.
Step 8:Resize and Retouch
Make sure the size and proportion match when you bring the singular subject into the correct layer. For this, the Free Transform tool is very helpful, found in the edit menu.

Another way to do that is by pressing cmd ctrl+T, which will display a box outside the layer. You will have to drag and resize it by the corner. Press and hold the shift key to control. Until the subject is perfectly aligned and in scale with the picture or with other subjects in a picture.
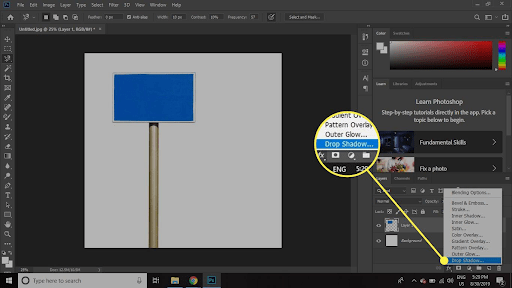
Step 9:Create Shadows
To make the image more realistic, shadows are important. You can adjust them by adjusting the curves that appear in the layer tab. Click on the circle that looks cut in half, and now you should be able to see the curves adjustment layer. Here, you can adjust the intensity of the shadows and exposure to one that fits best in the picture.
Make sure of two things, though:
- Place the curves layer under the mask layer
- Place the curve layer above the layer with the person or the second subject.
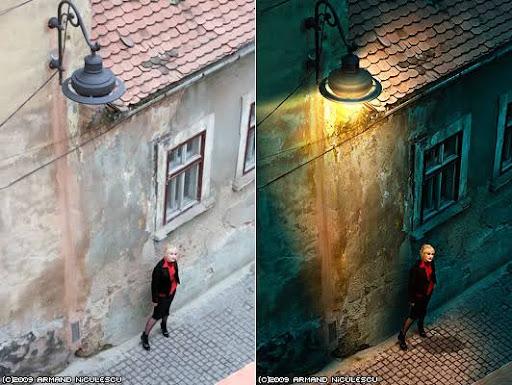
Step 10:Adjust The Colors
This is the part where you can make sure the colors (blues, Reds, and yellows), shadows, contrasts, white balance, and exposure are in good balance, for any disbalance in them could lead to a disbalance in the end result.

This part is extremely crucial to master and perfect to the best as possible. This can make or break the overall look of the subject.
However, press alt/ and select the subject you worked on before joining the two layers.
Last step:
Enjoy your final result with flying colors!
Conclusion:
Keeping these simple steps was easy, and now you know how to Photoshop someone into a picture.You can play around with this and take it to the next level. Be a little mischievous and add someone or something that’s not supposed to be in a photo that’s similar to the original.
You can prank your friends and family with this innocent skill that can surely come in handy beyond the pines of simply pranking people.Knowing how to Photoshop someone into a picture is an interesting skill to have that will surely make you feel proud of yourself.