macOS has some features that you will search in vain on other operating systems or that you will only find in newer versions or another form. One of these useful Mac features is screen splitting, for example, to communicate with a partner via FaceTime on one half of the screen and implement the discussed file changes immediately on the other half. We will show you how to use this split-screen feature on your Mac.
Table of Contents
The screen after starting the Mac
When you turn on and unlock your Mac, the desktop appears on the screen. When the computer “wakes up” from the idle state, the applications you last used are active, as before hibernation. It is important to note that the split-screen function is only available with the OS X El Capitan version of the operating system or later, therefore also in the current macOS Catalina. First, to avoid tedious trial and error, make sure that the “Monitors have separate spaces” checkbox is checked in the System Preferences under “Mission Control. “
The “Monitors have separate spaces” checkbox in System Preferences must be selected to split the Mac screen.
Now you can activate the apps you need for your work or organize those already active on your desk. To split the Mac screen, at least two applications must be running.
Split two applications on the Mac screen
If a program is already displayed full screen. How to change the IP address. You can add a second one with one of the following options:
- first, end the full-screen mode of the program with the mouse under the green menu item at the top left (under the menu bar),
- with [ctrl] + [cmd] + [F] or
- open the Mission Control, depending on the Mac model: a) swiping up on the trackpad with three fingers or b) using the key combination [ctrl] + [up arrow].
NB
The [cmd] key is also known as the Command key or the “apple key.” If you are using your Mac with a Windows keyboard, the Windows key corresponds to the cmd key.
The “full-screen mode” button hides behind the green circle with two black arrows at the screen’s top left.
As soon as you deactivate the whole screen. Know how to install never skip parent app on various OSs. Mode the two menu items below – “Move the window to the left side of the screen” and “Move the window to the right side of the screen” – with the corresponding symbols are no longer light gray but black and then active. Now you can select where you want to place the only active window, for example, the open web browser.
In full-screen mode, you can select the location of the app you are currently using and thus create a split-screen on your Mac.
In the selection shown here, the currently open application shrinks to the left half of the screen freeing up the right half on which another application can be displayed.
The second program will be shown in the second half of the screen, the free one.
With one click on the second program open on the desktop, the split-screens right half will fill up completely. If there are other applications available, they will also be displayed this way for selection.
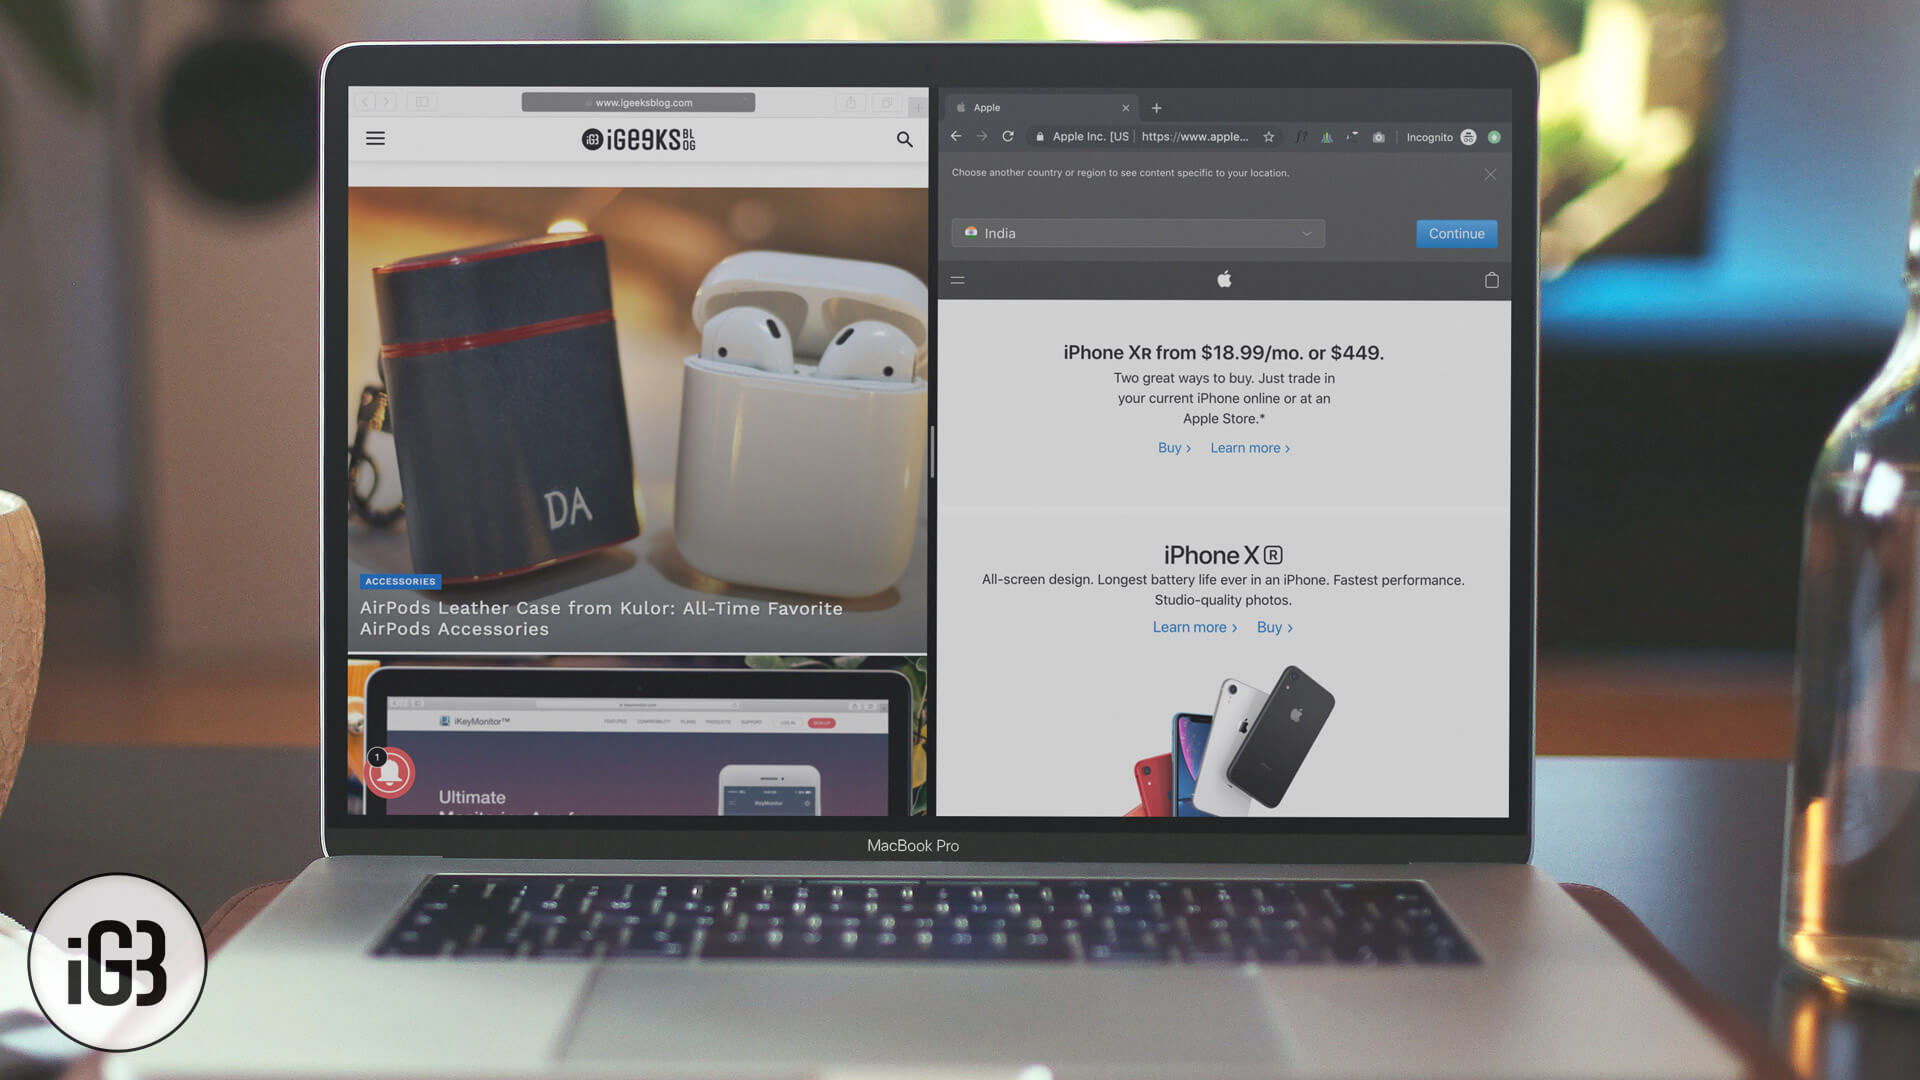
Both applications now take up half of your Mac screen.
Divide the screen
The screen is now divided into two sections of equal size. Both applications are active, and you can work on one of them. Both applications’ menu bars are located as usual at the top of the screen and the Dock, depending on where you have placed it (by default, it is at the bottom of the screen). The black vertical dividing line represents the screen division. In the center of this dividing line is a short gray line from which you can vary the space occupied by each of the screen’s halves.
Other functions
Moving application contents can be helpful—gamble online real money. For example, if you need to monitor your inbox on the split-screens left side while working on an open document on the right side. When you move to the dividing line with the cursor, it highlights it and can move left or right by holding down the mouse button. The respective parts of the screen can only reduce in size. That preserves the functionality of the separate program.
The application you are currently working on takes up the most space on the Mac split screen. This is the one on the left.
The application you are currently working on takes up the most space on the Mac split screen. Now the largest in the window on the right.
If you temporarily need to see one of the two applications open on the other side of the split-screen. All you have to do is click on the application window toolbar. Hold it and drag it to the other side. Applications will swap positions immediately.
With a click of the mouse and via drag & drop, you can swap the position of applications on your Mac’s split-screen.
To exit the split-screen again
use the mouse and exit the full-screen mode at the green menu item,
use the key combination [ctrl] + [cmd] + [F] or
open Mission Control to select another desk.
You can access Mission Control by pressing [F3] or the Mission Control key, depending on your Mac model. To work with a split Mac screen, below is an overview of the most important key combinations:
Function Key combinations (shortcuts)
Switch from the Mac split screen to another program: [cmd] + tab
Show or hide the Dock: [cmd] + [alt] + [D]
Close a window (individually): [cmd] + [W]
Activate Mission Control: [F3] or Mission Control key
Turn full screen mode on or off: [ctrl] + [cmd] + [F]
Quickly find an application without searching the Dock (also useful for quickly locating files and folders): [cmd] + space
Show or hide the Launchpad: [F4] or Launchpad key